This article will guide you through the process of managing your guest list more efficiently with our latest release.
Go To: Dashboard > Event tabs > Event > Guest List > View Guest List
How to use Select All to apply Bulk Actions
Step 1: Navigate to your guest list and click on View Guest List.

Here, you'll see all your invitees, their invitation status, and their RSVP status.

Step 2: Click Select All invitees if you wish to perform a bulk action. You can untick boxes if required

All invitees in your Guest List will now have a tick next to their record

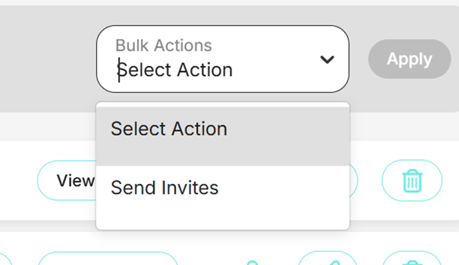
Step 3: Perform a bulk action to send invites. Alternatively, you're able to select specific individuals.

How to use Filters to apply Bulk Actions
You also have the option to use filters to decide who to send invites to. For instance, you might want to send invites to those whose response is still unsent.
Step 1: Scroll to the top of the page and select the filters you would like to apply to the Guest List

This will filter your Guest List data down. Click Select All or the desired Guest/s you would like included in this bulk action.

Step 2: Apply a bulk action and then click the Apply button. This will send invites only to the people that are in the filter.